
Some people swear by them, others just don't like to play with shiny golden boys with nipples. I'm happy to belong to the first group ^_^. SG could have certainly been much better, as the fluff depicts them as the absolute elite, yet they only have veteran stats. Perhaps having WS5, an additional attack (which you can get through the standard) or some special rule would have made them really outstand by what they do rather than their armour. 
Nevertheless they're a good beater unit, a sort of flying terminators with their 2+saves, assault 2 boltgun (yet with a short range) and PWs for all. They trade a higher mobility through jump packs for the durability of the 5++. A close by Libby can help remediate this to a certain degree in the shooting phase, but better keep them hidden behind razorbacks. Going back to the kit, the models are beautiful, with detailed crafted armours and a great level of detail. The poses and weapons are amazing, and it comes with a good assortment of heads and shoulder pads. All in all a good kit by itself and a good source of bits for your BA army.
Assembling and painting
First things first, I decided not to include the wings as that is... just too much for me. Maybe I'll add them at some point, but just not now. I also decided to magnetize the arms of the 3 of the SG, those that don't have both hands wielding the glaive encarmine weapon. This is so I could swap their standard gear for a PF, infernus pistol or standard if needed. I also do it to break the monotony of the poses - it's funnier to assemble them in different ways every time.
As for the painting, this is a relatively simple recipe that yields good results, in my opinion.
Armour:
- Prime white - will give the model a clearer look and helps me see the details!.
- Base color - a 50/50 scorched brown and shining goal, in 2 or 3 dilluted layers.
- Layer - 1 or 2 rather dilluted, thin layers of shining gold. Make sure you don't overkill it, we want the previous color to be still dominant.
- Wash with devlan mud.
- Light drybrush with mythril silver. This is a light, subtle drybrush in the more raised areas.


Looking after the details
- The clothes and purity seals are painted with a calthan brown base, then bleached bone, then devlan mud. Very simple really.
- The wings were painted with an Astronomican blue base, followed by a dilluted wash with Fenris grey (it's a foundation color, so better use a thinner). Then Astronomican grey again, then gradually add white and work towards the edges.
- The gems can be painted in a variety of colors and would require a tutorial by themselves. Just let me point out a very simple yet effective trick which is - add a touch of glossy varnish on top them to make them outstand.
- The bases are from Secret Weapon Miniatures. They have great quality products, an growing range and a good customer service. My favourite are the largest bases used for the Dreads, Terminators and Storm Ravens, though the small ones look brilliant as well. I painted them with several citadel paints, then added pigments from SWM again and fixed them with a MIG products.
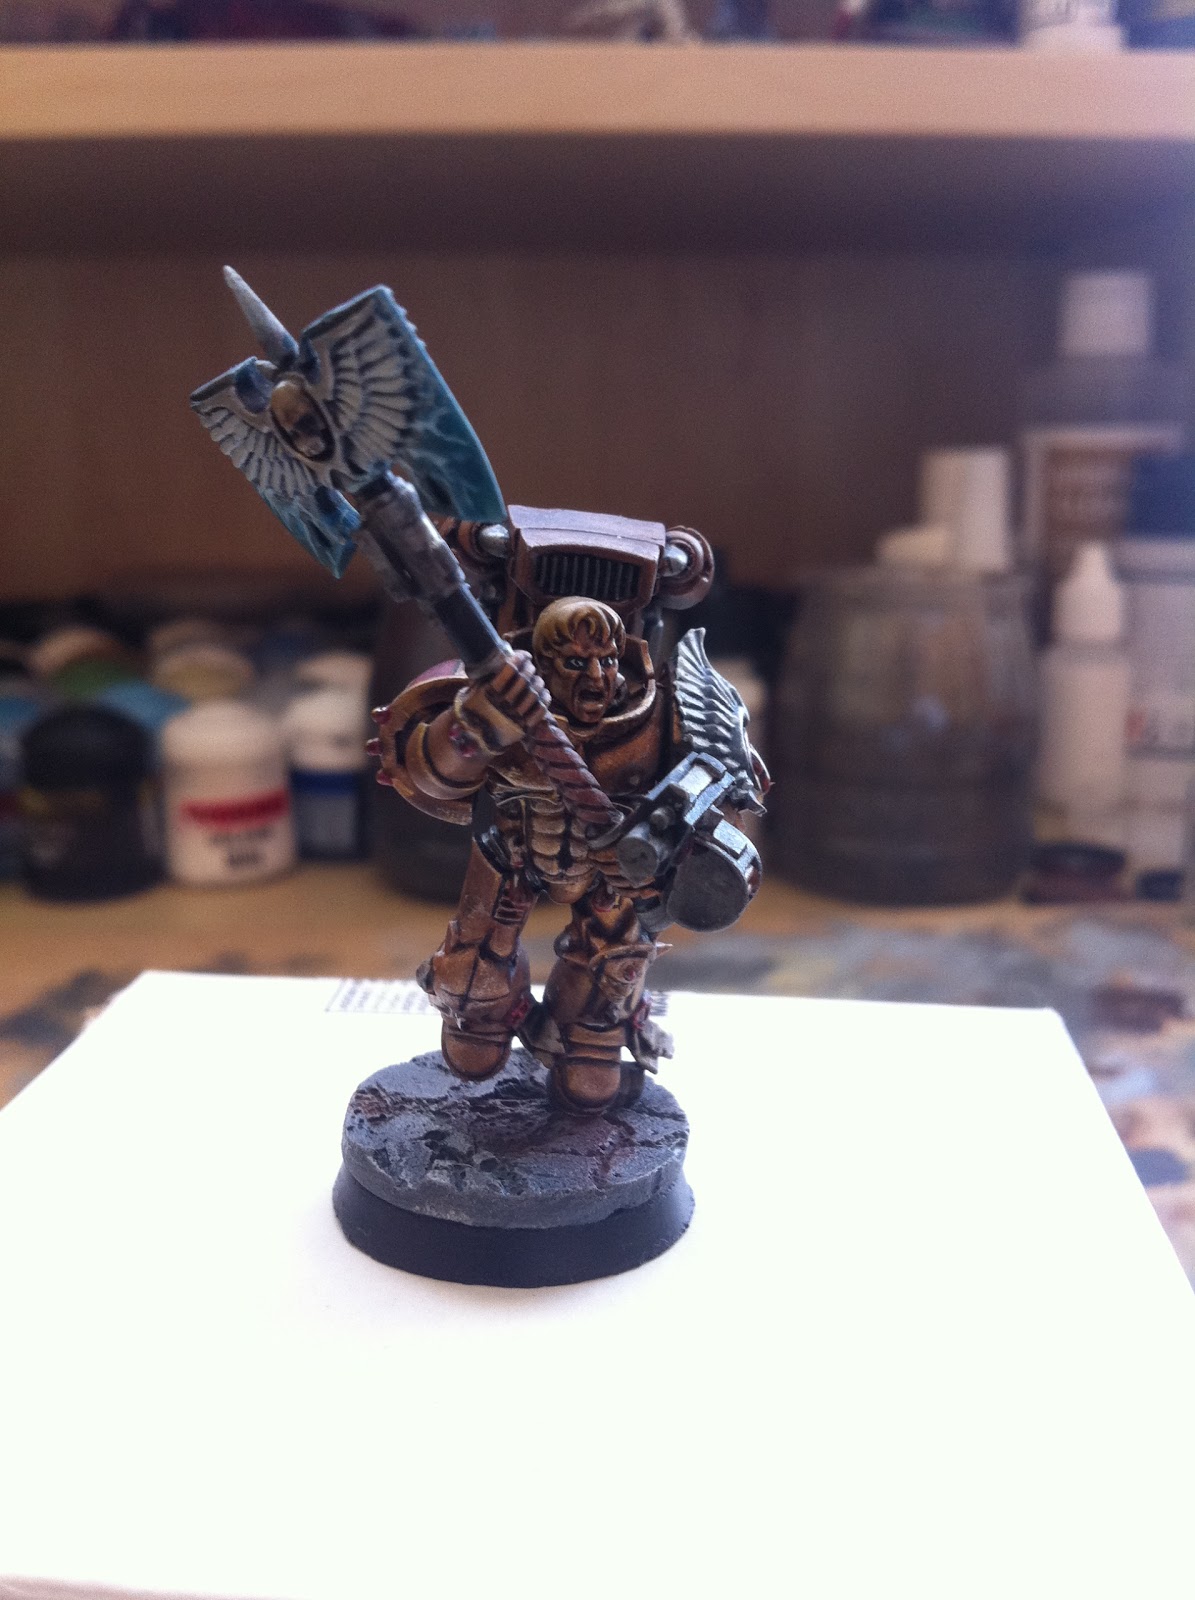
- The energy weapons (glaive encarmine) were painted with a combination of regal blue and hawk turquoise, then washed with badab black + a green wash. Then it's a matter of painting the rays with several thin, dilluted strokes of a light grey and white. Maybe I'll redo them with airbrush, for now they stay.
- The faces were painted with a 50/50 mix of elf and dwarf flesh, followed by a wash of ogryn flesh. Then add some more elf flesh to the original mix and add subtle touches in the raised areas, like the brow, nose, etcetera. My personal touch is painting the eyes, which I do as follows: first, use a thin brush to paint black to the eyes cavity. Once it is dry, add white inside the black, leaving a black rim surrounding. Then use your thinner brush to paint a dot in the middle. While it might sound complicated, I find rather easy and it looks stunning - check it out!
 |
| Fist and banner |
And that's pretty much it. Overall I'm pretty pleased in how they turned out; they outstand in the table and yet look coherent with the rest of the army. It can't compare to a NMM paintjob, but I'm not a GD painter by any means so this will suffice. Enjoy the pictures!
 |
| Comin' for ya! |
 |
| The group pic |
No comments:
Post a Comment
Note: Only a member of this blog may post a comment.